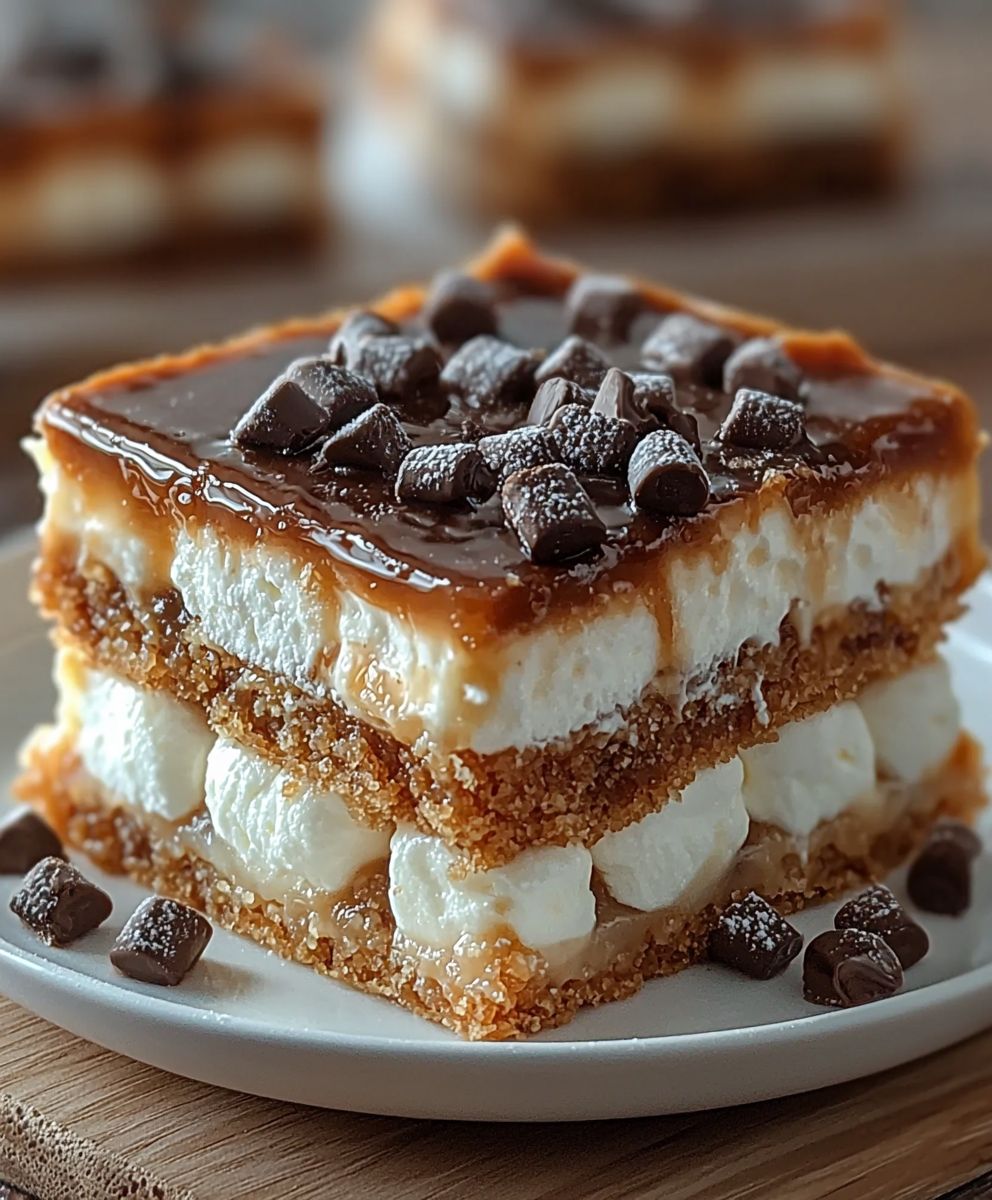
No Bake Smores Bars: the quintessential summer treat, reimagined for year-round enjoyment! Imagine sinking your teeth into layers of gooey marshmallow, rich chocolate, and crunchy graham crackers – all without ever turning on your oven. Sounds too good to be true? It’s not! These bars deliver all the nostalgic flavors of a campfire smore, but in a convenient, easy-to-make package.
S’mores, of course, have a rich history rooted in American camping culture. The first published recipe appeared in a Girl Scout guidebook in the 1920s, and since then, they’ve become a beloved tradition passed down through generations. The combination of toasted marshmallow, melted chocolate, and crisp graham cracker is simply irresistible. But let’s face it, not everyone has access to a campfire or the time to roast marshmallows perfectly. That’s where these No Bake Smores Bars come in!
People adore s’mores for their delightful combination of textures and flavors. The sweetness of the marshmallow and chocolate is perfectly balanced by the slightly savory graham cracker. Plus, they evoke feelings of warmth, nostalgia, and happy memories. These no-bake bars capture all of that magic, offering a quick and easy way to satisfy your s’mores craving any time of year. They’re perfect for potlucks, parties, or just a simple weeknight dessert. Get ready to experience the ultimate s’mores indulgence without the fuss!

Ingredients:
- For the Crust:
- 1 ½ cups graham cracker crumbs (about 12 full sheets)
- 5 tablespoons (2 ½ ounces) unsalted butter, melted
- ¼ cup granulated sugar
- ¼ teaspoon salt
- For the Chocolate Layer:
- 12 ounces semi-sweet chocolate chips
- 2 tablespoons unsalted butter
- For the Marshmallow Layer:
- 16 ounces (1 bag) large marshmallows
- 2 tablespoons unsalted butter
- 1 teaspoon vanilla extract
- Pinch of salt
- For the Topping:
- ½ cup mini marshmallows
- ¼ cup chopped graham crackers (optional)
- ¼ cup chocolate shavings (optional)
Preparing the Graham Cracker Crust
- Crush the Graham Crackers: The first step is to create our graham cracker crumbs. You can do this in a couple of ways. My preferred method is to use a food processor. Just break the graham crackers into smaller pieces and pulse them until you have fine crumbs. If you don’t have a food processor, no worries! Simply place the graham crackers in a large zip-top bag, seal it tightly, and use a rolling pin to crush them into crumbs. Make sure you get them nice and fine for the best crust texture.
- Combine Crust Ingredients: In a medium-sized bowl, combine the graham cracker crumbs, melted butter, granulated sugar, and salt. Stir everything together until the crumbs are evenly moistened. The mixture should resemble wet sand. This is what will hold our crust together.
- Press into Pan: Now, grab an 8×8 inch baking pan. I like to line mine with parchment paper, leaving an overhang on the sides. This makes it super easy to lift the bars out later. Press the graham cracker mixture firmly and evenly into the bottom of the pan. You can use the bottom of a measuring cup or your fingers to really pack it down. A well-packed crust is key to preventing it from crumbling later.
- Chill the Crust: Place the pan in the refrigerator and let the crust chill for at least 30 minutes. This will help it firm up and set before we add the chocolate layer. Don’t skip this step! It makes a big difference.
Making the Chocolate Layer
- Melt the Chocolate and Butter: While the crust is chilling, let’s prepare the chocolate layer. In a heat-safe bowl (glass or metal), combine the semi-sweet chocolate chips and butter. You can melt this mixture in the microwave or over a double boiler.
Microwave Method: If using the microwave, heat in 30-second intervals, stirring after each interval, until the chocolate is completely melted and smooth. Be careful not to overheat the chocolate, as it can burn.
Double Boiler Method: If using a double boiler, fill a saucepan with about an inch of water and bring it to a simmer. Place the heat-safe bowl over the saucepan, making sure the bottom of the bowl doesn’t touch the water. Stir the chocolate and butter constantly until melted and smooth.
- Pour Over Crust: Once the chocolate is melted and smooth, remove the crust from the refrigerator and pour the melted chocolate evenly over the chilled graham cracker crust. Use a spatula to spread the chocolate to the edges of the pan, ensuring a nice, even layer.
- Chill Again: Return the pan to the refrigerator and let the chocolate layer chill for another 30 minutes, or until it’s firm to the touch. This will prevent the marshmallow layer from sinking into the chocolate.
Creating the Marshmallow Layer
- Melt the Marshmallows and Butter: This is where the magic happens! In a large, microwave-safe bowl, combine the marshmallows and butter. Microwave on high for 1-2 minutes, stirring halfway through, until the marshmallows are completely melted and smooth. The exact time will depend on your microwave, so keep a close eye on them. They should puff up and become easily stirrable.
- Add Vanilla and Salt: Once the marshmallows are melted, remove the bowl from the microwave and stir in the vanilla extract and a pinch of salt. The vanilla adds a lovely flavor, and the salt helps to balance the sweetness.
- Spread Over Chocolate: Remove the pan from the refrigerator and quickly spread the melted marshmallow mixture evenly over the chilled chocolate layer. Work quickly, as the marshmallow mixture will start to set as it cools. Again, use a spatula to ensure an even layer.
Adding the Finishing Touches
- Sprinkle with Toppings: While the marshmallow layer is still slightly sticky, sprinkle the mini marshmallows evenly over the top. If you’re using chopped graham crackers or chocolate shavings, sprinkle those on as well. This adds a nice visual appeal and extra texture.
- Chill to Set: Place the pan back in the refrigerator and let the bars chill for at least 2 hours, or preferably overnight, to allow the marshmallow layer to fully set. This is crucial for clean cuts and easy serving.
Cutting and Serving
- Cut into Bars: Once the bars are completely set, remove them from the refrigerator. If you lined the pan with parchment paper, simply lift the bars out using the overhang. Otherwise, you may need to run a knife around the edges of the pan to loosen them. Use a sharp knife to cut the bars into squares. I find that wiping the knife clean between each cut helps to create cleaner edges.
- Serve and Enjoy: These No-Bake S’mores Bars are best served chilled. They’re perfect for parties, potlucks, or just a sweet treat any time of day. Store any leftovers in an airtight container in the refrigerator for up to 3-4 days.
Tips for Success:
- Don’t Overheat the Chocolate: Be careful not to overheat the chocolate when melting it, as it can become grainy and seize up. If this happens, try stirring in a teaspoon of vegetable oil to help smooth it out.
- Work Quickly with the Marshmallow Layer: The marshmallow mixture sets quickly, so it’s important to work quickly when spreading it over the chocolate layer. If it starts to get too sticky, you can try microwaving it for a few seconds to soften it up again.
- Chill Thoroughly: Chilling the bars completely is essential for easy cutting and serving. Don’t rush this step!
- Variations: Feel free to customize these bars to your liking! You can use different types of chocolate, add peanut butter to the chocolate layer, or sprinkle with other toppings like chopped nuts or pretzels.
Troubleshooting:
- Crust is crumbly: Make sure you’re using enough melted butter to moisten the graham cracker crumbs. You may need to add a little more if your crumbs are particularly dry. Also, be sure to press the crust firmly into the pan.
- Chocolate layer is hard to cut: Make sure the chocolate layer is fully chilled before adding the marshmallow layer. If it’s still soft, the marshmallow layer will sink into it, making it difficult to cut cleanly.
- Marshmallow layer is too sticky: This is usually caused by not chilling the bars long enough. Make sure to chill them for at least 2 hours, or preferably overnight.
Conclusion:
So, there you have it! These No Bake Smores Bars are truly a must-try for anyone craving that classic campfire flavor without the fuss. From the crunchy graham cracker crust to the gooey marshmallow center and the rich chocolate topping, every bite is an explosion of textures and tastes that will transport you straight to summer evenings around a crackling fire. But the best part? You don’t even need to turn on your oven!
I know what you’re thinking: “Another no-bake dessert? What makes this one so special?” Well, beyond the sheer convenience and ease of preparation, these bars are incredibly versatile. They’re perfect for potlucks, picnics, birthday parties, or even just a simple weeknight treat. They’re also a fantastic way to get the kids involved in the kitchen – they’ll love helping to crush the graham crackers and spread the marshmallow fluff!
Serving Suggestions and Variations:
While these No Bake Smores Bars are delicious as is, feel free to get creative and experiment with different variations. Here are a few ideas to get you started:
- Peanut Butter Smores: Swirl a layer of peanut butter into the marshmallow fluff for a salty-sweet twist.
- Chocolate Chip Smores: Sprinkle chocolate chips over the marshmallow layer before adding the chocolate topping for an extra dose of chocolatey goodness.
- Salted Caramel Smores: Drizzle salted caramel sauce over the finished bars for a decadent treat.
- Mint Chocolate Smores: Add a few drops of peppermint extract to the melted chocolate for a refreshing minty flavor.
- Espresso Smores: Mix a teaspoon of instant espresso powder into the melted chocolate for a coffee-infused kick.
- Make it Vegan: Use vegan graham crackers, marshmallows, and chocolate to create a plant-based version of this classic dessert.
You can also play around with the toppings. Instead of plain melted chocolate, try using a flavored chocolate bar, like milk chocolate, dark chocolate, or even white chocolate. Or, sprinkle the bars with chopped nuts, shredded coconut, or sprinkles for added texture and visual appeal.
I truly believe that these No Bake Smores Bars will become a new favorite in your household. They’re quick, easy, and incredibly satisfying – the perfect combination for a winning dessert. So, what are you waiting for? Gather your ingredients, grab your mixing bowls, and get ready to indulge in a taste of summer, no matter the season!
I’m so excited for you to try this recipe! Once you’ve made your own batch of these irresistible bars, I’d love to hear about your experience. Did you try any of the variations I suggested? Did you come up with your own unique twist? Share your photos and comments in the comments section below. I can’t wait to see what you create!
Happy baking (or rather, no-baking!) and enjoy!
No Bake Smores Bars: Easy Recipe for Delicious Treats
Easy no-bake s'mores bars with a graham cracker crust, rich chocolate layer, and gooey marshmallow topping. Perfect for a quick and delicious treat!
Ingredients
- 1 ½ cups graham cracker crumbs (about 12 full sheets)
- 5 tablespoons (2 ½ ounces) unsalted butter, melted
- ¼ cup granulated sugar
- ¼ teaspoon salt
- 12 ounces semi-sweet chocolate chips
- 2 tablespoons unsalted butter
- 16 ounces (1 bag) large marshmallows
- 2 tablespoons unsalted butter
- 1 teaspoon vanilla extract
- Pinch of salt
- ½ cup mini marshmallows
- ¼ cup chopped graham crackers (optional)
- ¼ cup chocolate shavings (optional)
Instructions
- Crush the Graham Crackers: In a food processor or zip-top bag, crush graham crackers into fine crumbs.
- Combine Crust Ingredients: In a bowl, mix graham cracker crumbs, melted butter, sugar, and salt until moistened.
- Press into Pan: Press the mixture firmly into an 8×8 inch pan (lined with parchment paper for easy removal).
- Chill the Crust: Refrigerate the crust for at least 30 minutes.
- Melt the Chocolate and Butter: Melt chocolate chips and butter in the microwave (30-second intervals) or over a double boiler until smooth.
- Pour Over Crust: Pour melted chocolate evenly over the chilled crust.
- Chill Again: Refrigerate the chocolate layer for 30 minutes, or until firm.
- Melt the Marshmallows and Butter: In a microwave-safe bowl, melt marshmallows and butter for 1-2 minutes, stirring halfway through, until smooth.
- Add Vanilla and Salt: Stir in vanilla extract and a pinch of salt.
- Spread Over Chocolate: Quickly spread the melted marshmallow mixture evenly over the chilled chocolate layer.
- Sprinkle with Toppings: Sprinkle mini marshmallows, chopped graham crackers, or chocolate shavings on top.
- Chill to Set: Refrigerate for at least 2 hours, or preferably overnight, to fully set.
- Cut into Bars: Cut into squares using a sharp knife (wiping the knife between cuts for cleaner edges).
- Serve and Enjoy: Serve chilled. Store leftovers in an airtight container in the refrigerator for up to 3-4 days.
Notes
- Don’t overheat the chocolate when melting.
- Work quickly with the marshmallow layer as it sets fast.
- Chill the bars thoroughly for easy cutting.
- Customize with different types of chocolate, peanut butter, nuts, or pretzels.
- If the crust is crumbly, add more melted butter.
- If the chocolate layer is hard to cut, ensure it’s fully chilled.
- If the marshmallow layer is too sticky, chill the bars longer.