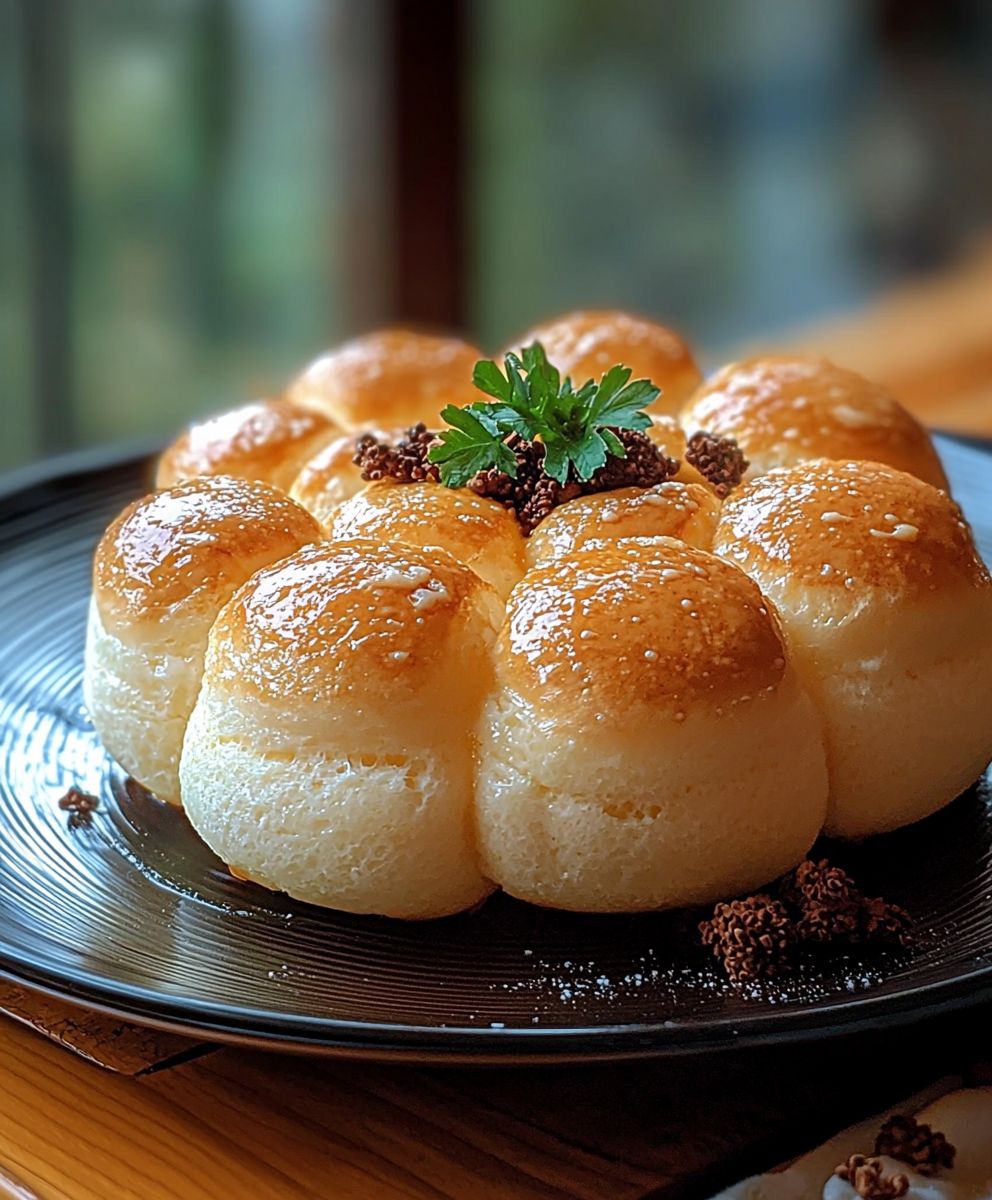
Cloud Bread: Prepare to have your perception of bread redefined! Imagine sinking your teeth into a light, airy creation that practically melts in your mouth. This isn’t your average loaf; it’s a revolutionary, low-carb alternative that’s taking the culinary world by storm. Forget dense, heavy textures – we’re talking about a bread so ethereal, it’s named after the fluffy formations in the sky.
While its exact origins are debated, Cloud Bread gained significant popularity as a keto-friendly option, allowing those following low-carb diets to enjoy a bread-like experience without the guilt. It cleverly utilizes simple ingredients like eggs, cream cheese, and a touch of sweetener to create a surprisingly satisfying and versatile base.
What makes this recipe so irresistible? It’s the delightful combination of a subtly sweet flavor and a unique, almost meringue-like texture. People adore it because it’s incredibly easy to make, requiring minimal ingredients and effort. Plus, it’s a fantastic blank canvas! Enjoy it as a sandwich substitute, a base for mini pizzas, or simply savor it on its own. Get ready to experience the magic of cloud bread – your taste buds will thank you!

Ingredients:
- 3 large egg whites
- 2 tablespoons granulated sugar
- 1 tablespoon cornstarch
- 1/4 teaspoon cream of tartar
- Optional: Food coloring (gel or liquid)
- Optional: Flavor extracts (vanilla, almond, lemon, etc.)
Preparing the Egg Whites: The Foundation of Cloud Bread
Okay, let’s get started! The key to amazing cloud bread is perfectly whipped egg whites. This is where the magic happens, so pay close attention!
- Separate the Eggs: This is crucial! Make sure absolutely no yolk gets into the egg whites. Even a tiny bit of yolk can prevent the whites from whipping up properly. I like to crack each egg individually into a small bowl before adding the white to the larger mixing bowl. This way, if you accidentally break a yolk, you haven’t ruined the whole batch.
- Chill the Bowl and Whisk: For the best results, chill your mixing bowl and whisk attachment (or beaters if you’re using a hand mixer) in the freezer for about 15-20 minutes before you start. Cold equipment helps the egg whites whip up faster and hold their volume better.
- Add Cream of Tartar: Once your egg whites are in the chilled bowl, add the cream of tartar. Cream of tartar is an acid that helps stabilize the egg whites and prevents them from collapsing. It’s a small but mighty ingredient!
- Start Whipping: Begin whipping the egg whites on medium speed. You’ll see them start to get foamy. This is good! Keep whipping until they form soft peaks. Soft peaks mean that when you lift the whisk, the peaks of the egg whites will droop over slightly.
- Gradually Add Sugar: Now, slowly add the granulated sugar, one tablespoon at a time, while continuing to whip on medium speed. Don’t dump all the sugar in at once! Adding it gradually allows the sugar to dissolve properly and helps create a stable meringue.
- Increase Speed and Whip to Stiff Peaks: Once all the sugar is added, increase the speed to high and continue whipping until stiff, glossy peaks form. Stiff peaks mean that when you lift the whisk, the peaks of the egg whites will stand straight up and hold their shape. Be careful not to overwhip, though! Overwhipped egg whites will look dry and curdled.
- Incorporate Cornstarch: Gently sprinkle the cornstarch over the whipped egg whites. Cornstarch helps to absorb any excess moisture and gives the cloud bread a slightly chewier texture.
- Fold in Cornstarch: Using a rubber spatula, gently fold the cornstarch into the egg whites. Be careful not to deflate the egg whites! Use a light hand and fold until the cornstarch is just incorporated. You should still see some streaks of cornstarch, that’s okay.
- Add Optional Ingredients (Food Coloring and Extracts): If you’re using food coloring or flavor extracts, now is the time to add them. Add a few drops of food coloring at a time and gently fold it in until you reach your desired color. Be careful not to overmix, as this can deflate the egg whites. Similarly, add a few drops of your chosen extract and gently fold it in.
Baking the Cloud Bread: From Meringue to Cloud
Now that our meringue is ready, it’s time to bake it into beautiful cloud bread!
- Preheat Oven: Preheat your oven to 300°F (150°C). It’s important to have the oven at the correct temperature before you start baking.
- Prepare Baking Sheet: Line a baking sheet with parchment paper. Parchment paper prevents the cloud bread from sticking to the baking sheet and makes it easier to remove after baking.
- Scoop Meringue onto Baking Sheet: Using a spoon or ice cream scoop, scoop the meringue onto the prepared baking sheet. You can make them any size you like, but I usually aim for about 3-4 inches in diameter. Leave some space between each cloud bread so they have room to expand.
- Shape the Cloud Bread (Optional): If you want, you can gently shape the cloud bread into more uniform circles using the back of a spoon. This is purely for aesthetic purposes, so don’t worry too much about it.
- Bake: Bake for 20-25 minutes, or until the cloud bread is lightly golden brown and feels firm to the touch. The baking time will vary depending on the size of your cloud bread and your oven, so keep an eye on them.
- Cool Completely: Once the cloud bread is baked, turn off the oven and crack the oven door slightly. Let the cloud bread cool completely in the oven. This helps to prevent them from collapsing. This can take about an hour.
- Remove from Baking Sheet: Once the cloud bread is completely cool, gently remove them from the baking sheet. They should easily lift off the parchment paper.
Serving and Storing Cloud Bread: Enjoying Your Creation
Your cloud bread is ready! Now, let’s talk about how to best enjoy and store these airy delights.
- Serve Immediately: Cloud bread is best served immediately after cooling. They are at their fluffiest and most delicious at this point.
- Enjoy Plain or Topped: You can enjoy cloud bread plain, or you can top them with your favorite toppings. Some popular toppings include fresh berries, whipped cream, chocolate shavings, or a sprinkle of powdered sugar.
- Storage: Cloud bread is best stored in an airtight container at room temperature. However, they tend to lose their crispness and become slightly sticky over time. They are best consumed within 1-2 days.
- Freezing: You can also freeze cloud bread for longer storage. To freeze, place the cloud bread in a single layer on a baking sheet and freeze until solid. Then, transfer them to an airtight container or freezer bag. They can be stored in the freezer for up to 2 months. When you’re ready to eat them, thaw them at room temperature.
- Important Note: Because cloud bread is made primarily of egg whites, it can be quite delicate and prone to absorbing moisture. Avoid storing them in a humid environment, as this will cause them to become sticky and lose their texture.
Troubleshooting Tips for Perfect Cloud Bread
Sometimes, things don’t go exactly as planned. Here are some common issues and how to fix them:
- Cloud Bread is Flat: This is usually caused by not whipping the egg whites enough or by deflating the egg whites when folding in the cornstarch. Make sure to whip the egg whites to stiff, glossy peaks and fold in the cornstarch gently. Also, ensure no egg yolk contaminated the whites.
- Cloud Bread is Sticky: This can be caused by overbaking or by storing the cloud bread in a humid environment. Make sure to bake the cloud bread until they are lightly golden brown and feel firm to the touch. Store them in an airtight container at room temperature.
- Cloud Bread is Dry: This can be caused by overwhipping the egg whites or by baking the cloud bread for too long. Be careful not to overwhip the egg whites, and bake the cloud bread until they are just lightly golden brown.
- Cloud Bread Tastes Eggy: Adding a little vanilla or other extract can help mask the eggy flavor.
Variations on Cloud Bread: Get Creative!
Once you’ve mastered the basic cloud bread recipe, you can start experimenting with different flavors and variations. Here are a few ideas to get you started:
- Chocolate Cloud Bread: Add a tablespoon of unsweetened cocoa powder to the egg whites along with the sugar.
- Lemon Cloud Bread: Add a teaspoon of lemon zest and a few drops of lemon extract to the egg whites.
- Cinnamon Cloud Bread: Add a teaspoon of ground cinnamon to the egg whites along with the sugar.
- Coffee Cloud Bread: Add a teaspoon of instant coffee powder to the egg whites along with the sugar.
- Savory Cloud Bread: Omit the sugar and add a pinch of salt, garlic powder, or onion powder to the egg whites. You can also add grated Parmesan cheese or herbs.
Enjoy Your Cloud Bread Journey!
Making cloud bread is a fun and rewarding experience. Don’t be discouraged if your first batch isn’t perfect. With a little practice, you’ll be whipping up light and airy cloud bread in no time! Happy baking!
Conclusion:
So, there you have it! This Cloud Bread recipe is truly a game-changer, and I wholeheartedly believe it deserves a spot in your regular baking rotation. Why? Because it’s ridiculously easy, surprisingly versatile, and delivers a unique texture that’s unlike anything you’ve probably ever tasted. Forget heavy, dense breads that weigh you down; this cloud bread is light as air and practically melts in your mouth. It’s a fantastic option for anyone looking to reduce their carb intake, experiment with gluten-free baking, or simply try something new and exciting in the kitchen.
But the best part? It’s not just about the novelty. This cloud bread is genuinely delicious! The subtle sweetness and airy texture make it incredibly satisfying, and the possibilities for customization are endless. Think of it as a blank canvas for your culinary creativity.
Serving Suggestions and Variations:
I’ve found that this cloud bread is incredibly versatile. Here are a few of my favorite ways to enjoy it:
* As a Sandwich Substitute: Use two slices of cloud bread to create a light and airy sandwich. It pairs perfectly with deli meats, cheeses, and fresh vegetables. I especially love it with smoked turkey and avocado.
* Topped with Sweet Treats: Spread a thin layer of cream cheese and top with fresh berries for a delightful and guilt-free dessert. A drizzle of honey or a sprinkle of cinnamon adds an extra touch of sweetness.
* As a Pizza Base: For a low-carb pizza night, try using a larger, slightly thicker cloud bread as your base. Top with your favorite pizza sauce, cheese, and toppings, and bake until the cheese is melted and bubbly.
* Savory Bites: Incorporate herbs and spices into the batter for a savory twist. Rosemary, thyme, or garlic powder can add a delicious depth of flavor. These savory cloud breads are perfect for dipping in soups or serving alongside salads.
* Breakfast Toast: Lightly toast a slice of cloud bread and top with a fried egg, avocado, and everything bagel seasoning for a quick and satisfying breakfast.
* Sweet Cloud Bread: Add a touch of vanilla extract or almond extract to the batter for a sweeter flavor. You can also incorporate a tablespoon of sugar substitute if you prefer a sweeter taste.
Don’t be afraid to experiment and find your own favorite ways to enjoy this amazing Cloud Bread. The beauty of this recipe lies in its simplicity and adaptability.
I truly believe that once you try this recipe, you’ll be hooked. It’s a fun and rewarding baking experience that yields a truly unique and delicious result. So, gather your ingredients, preheat your oven, and get ready to create some culinary magic!
I’m so excited for you to try this recipe and discover the joys of cloud bread. And most importantly, I’d love to hear about your experience! Did you try any variations? What were your favorite toppings? What did you think of the texture? Please, share your thoughts and photos in the comments below. Your feedback is invaluable, and it helps me to continue creating and sharing recipes that you’ll love. Happy baking!
Cloud Bread: The Lightest, Fluffiest Keto Bread Recipe
Light, airy cloud bread made with few ingredients! A fun, simple treat to enjoy plain or with toppings.
Ingredients
- 3 large egg whites
- 2 tablespoons granulated sugar
- 1 tablespoon cornstarch
- 1/4 teaspoon cream of tartar
- Optional: Food coloring (gel or liquid)
- Optional: Flavor extracts (vanilla, almond, lemon, etc.)
Instructions
- Ensure absolutely no yolk gets into the egg whites.
- Chill your mixing bowl and whisk attachment in the freezer for 15-20 minutes.
- Add the cream of tartar to the egg whites in the chilled bowl.
- Whip the egg whites on medium speed until foamy.
- Slowly add the granulated sugar, one tablespoon at a time, while continuing to whip on medium speed.
- Increase the speed to high and continue whipping until stiff, glossy peaks form.
- Gently sprinkle the cornstarch over the whipped egg whites.
- Gently fold the cornstarch into the egg whites using a rubber spatula.
- If using, add food coloring or flavor extracts and gently fold in.
- Preheat your oven to 300°F (150°C).
- Line a baking sheet with parchment paper.
- Scoop the meringue onto the prepared baking sheet, leaving space between each.
- Gently shape the cloud bread into more uniform circles using the back of a spoon.
- Bake for 20-25 minutes, or until lightly golden brown and firm to the touch.
- Turn off the oven, crack the oven door slightly, and let the cloud bread cool completely in the oven.
- Gently remove the cloud bread from the baking sheet.
- Cloud bread is best served immediately after cooling.
- Enjoy plain or with your favorite toppings.
- Store in an airtight container at room temperature for 1-2 days.
- Freeze in a single layer on a baking sheet, then transfer to an airtight container for up to 2 months. Thaw at room temperature before serving.
Notes
- Troubleshooting:
- Flat Cloud Bread: Whip egg whites to stiff peaks, fold in cornstarch gently, and ensure no yolk contamination.
- Sticky Cloud Bread: Bake until lightly golden brown and store in an airtight container.
- Dry Cloud Bread: Avoid overwhipping egg whites and bake until just lightly golden brown.
- Eggy Taste: Add vanilla or other extract.
- Variations:
- Chocolate: Add cocoa powder.
- Lemon: Add lemon zest and extract.
- Cinnamon: Add ground cinnamon.
- Coffee: Add instant coffee powder.
- Savory: Omit sugar and add salt, garlic powder, onion powder, Parmesan cheese, or herbs.