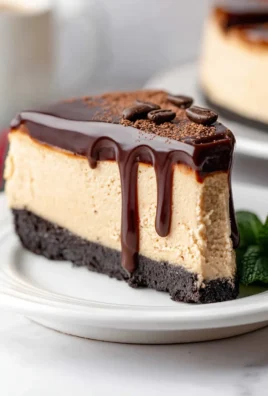
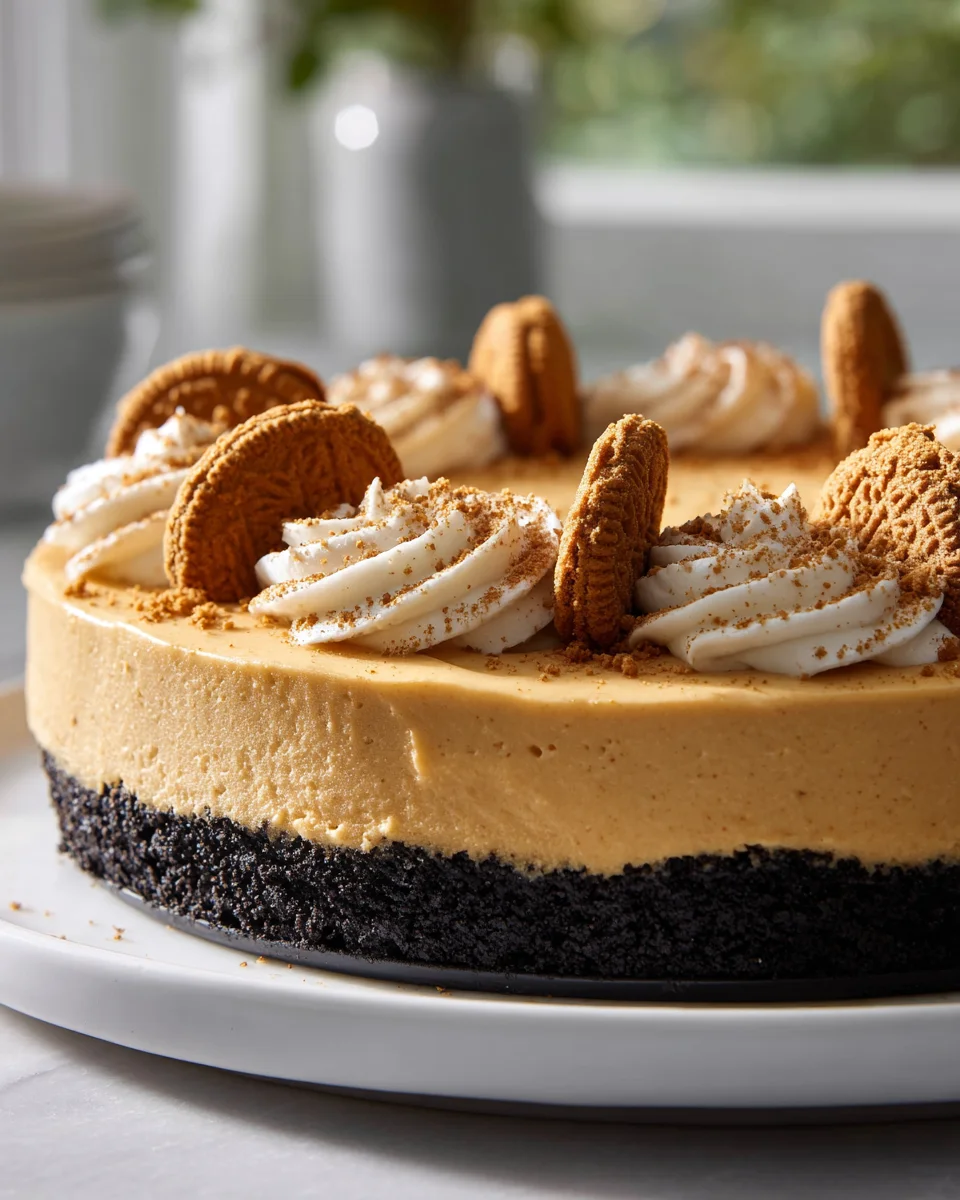
Frozen Biscoff Cream Pie With Oreo Crust
Oh boy, have I got a treat for you today! I’m so excited to share my recipe for Frozen Biscoff Cream Pie With Oreo Crust, and let me tell you, it’s an absolute game-changer. What makes this dessert so incredibly special, you ask? Well, imagine the irresistible, warm, caramelized notes of Biscoff cookie butter, transformed into a silky-smooth, intensely flavorful cream pie filling that literally melts in your mouth. Now, picture that luscious filling nestled inside a perfectly crunchy, rich, and utterly divine Oreo cookie crust.
You are going to absolutely adore this pie because it’s the ultimate no-bake indulgence that tastes like it took hours to prepare, but actually comes together with surprising ease. It’s the perfect blend of unique, comforting flavors and delightful textures – the creamy, cool Biscoff against the chocolatey crunch of the Oreo crust is simply magic. It’s refreshing enough for a hot summer day, yet decadent enough for any special occasion or a cozy treat at home. Get ready to impress everyone (including yourself!) with a slice of this heavenly, frozen delight!

Ingredient Notes
Creating this irresistible Frozen Biscoff Cream Pie with Oreo Crust is a journey of delicious simplicity. While the ingredient list might seem straightforward, understanding the nuances of each component is key to achieving that perfect balance of creamy, crunchy, and utterly delightful flavor. I’ve chosen these specific ingredients because they truly shine in this dessert, but I’ll also share a few pointers on suitable substitutions if you’re in a pinch.
For the Oreo Crust:
- Oreo Cookies: The star of our crust! I always reach for the classic chocolate sandwich cookies with the cream filling. You’ll need about one standard package. Don’t remove the cream filling – it actually helps bind the crust together beautifully. While you could technically use other chocolate sandwich cookies, the iconic taste of Oreos is what gives this pie its signature foundation.
- Unsalted Butter: Melted butter is essential for binding the crushed Oreos into a cohesive crust. I prefer unsalted butter so I can control the overall saltiness of the pie. If you only have salted butter, you can use it, but consider reducing any added salt in other components of the recipe (though this recipe doesn’t call for much, if any, additional salt). Margarine could be used in a pinch, but butter offers a superior flavor and texture.
For the Biscoff Cream Filling:
- Full-Fat Cream Cheese: This is the backbone of our creamy filling. Using full-fat cream cheese is non-negotiable for the best texture and stability. It provides richness and a slight tang that perfectly complements the sweetness of the Biscoff. Make sure it’s softened to room temperature before you begin; this prevents lumps and ensures a silky-smooth filling.
- Biscoff Cookie Butter (or Speculoos Spread): Ah, the namesake ingredient! This is where the magic happens. I recommend using the creamy variety of Biscoff cookie butter for the smoothest filling possible. If you can only find the crunchy version, it will still work, but you might have tiny cookie pieces in your filling, which some people enjoy! Speculoos spread is essentially the same product and can be used interchangeably.
- Powdered Sugar (Confectioners’ Sugar): This provides sweetness and, more importantly, a wonderfully smooth texture to our filling. Unlike granulated sugar, powdered sugar dissolves instantly, preventing any grittiness.
- Heavy Cream (or Whipping Cream): This is what gives our pie its light, airy, and truly “cream pie” consistency. It needs to be very cold to whip properly into stiff peaks. Do not use half-and-half or milk; they don’t have enough fat to whip up. If you’re looking for a dairy-free alternative, a well-chilled can of full-fat coconut cream (just the thick solids scooped from the top) can be whipped, but note that it will impart a subtle coconut flavor to the pie.
- Vanilla Extract: A splash of good quality vanilla extract enhances all the other flavors, bringing a touch of warmth and depth to the filling.
For Garnish (Optional but Recommended):
- Biscoff Cookies: Crushed or crumbled Biscoff cookies make for a beautiful and flavorful topping, reinforcing that signature taste.
- Melted Biscoff Cookie Butter: A drizzle of melted cookie butter over the top adds an extra layer of indulgence and visual appeal.
Step-by-Step Instructions
Let’s get down to business and assemble this delightful Frozen Biscoff Cream Pie! I promise, while the result is impressive, the process is surprisingly straightforward. Just follow these steps, and you’ll be well on your way to dessert heaven.
1. Prepare the Oreo Crust:
- First things first, let’s get that iconic Oreo crust ready. Take your Oreo cookies (about 30-35 cookies, or a standard 14.3-ounce package) and crush them finely. I usually do this in a food processor, pulsing until they resemble fine crumbs. If you don’t have a food processor, place the cookies in a large zip-top bag, seal it, and crush them with a rolling pin or the bottom of a heavy pan until they’re finely ground.
- Melt 6 tablespoons of unsalted butter. Pour the melted butter over the crushed Oreo crumbs in a mixing bowl. Stir them together thoroughly with a spoon or your hands until all the crumbs are moistened and resemble wet sand.
- Press the mixture evenly into the bottom and up the sides of a 9-inch pie plate. I like to use the bottom of a measuring cup or a flat-bottomed glass to really compact the crumbs, ensuring a firm crust. This prevents it from crumbling too much when you slice it later.
- Place the prepared crust in the freezer for at least 15-20 minutes while you prepare the filling. This chilling time is crucial for the crust to set properly and prevent it from becoming soggy.
2. Make the Biscoff Cream Filling:
- In a large mixing bowl, using an electric mixer, beat the softened full-fat cream cheese on medium speed until it’s completely smooth and creamy, with no lumps. This should take about 1-2 minutes.
- Add the Biscoff cookie butter, powdered sugar, and vanilla extract to the cream cheese. Continue to beat on medium speed until all the ingredients are well combined and the mixture is light and fluffy. Scrape down the sides of the bowl as needed to ensure everything is incorporated.
- In a separate, very cold bowl (I sometimes chill my bowl and beaters in the freezer for 10 minutes beforehand), pour your cold heavy cream. Using clean beaters, whip the heavy cream on high speed until stiff peaks form. This means when you lift the beaters, the cream stands up firmly without collapsing. Be careful not to over-whip, or it will turn grainy.
- Now comes the delicate part: gently fold the whipped cream into the Biscoff cream cheese mixture. Do this in two additions, using a spatula. Use a light hand and a folding motion (cutting down the middle and sweeping up from the bottom of the bowl) to preserve the airiness of the whipped cream. You want it just combined, with no streaks, but don’t overmix, or you’ll deflate all that lovely volume.
3. Assemble and Freeze the Pie:
- Retrieve your chilled Oreo crust from the freezer.
- Pour the Biscoff cream filling into the crust, spreading it evenly with your spatula. Make sure the top is nice and smooth.
- If you’re garnishing, now’s the time! You can sprinkle crushed Biscoff cookies over the top or drizzle some melted Biscoff cookie butter for an extra touch.
- Cover the pie loosely with plastic wrap or aluminum foil. Place the pie back in the freezer for at least 6 hours, or preferably overnight, until it’s completely solid. This freezing time is essential for the pie to set firm enough to slice cleanly and maintain its frozen “cream pie” texture.
Tips & Suggestions
Making a frozen pie is often simpler than baking, but a few key tips can elevate your Frozen Biscoff Cream Pie from good to absolutely phenomenal. I’ve learned these through a bit of trial and error, and I’m happy to share them with you to ensure your pie is perfect every time!
- For the Crust: Firmness is Key! When pressing the Oreo crumbs into your pie plate, don’t be shy! Use the bottom of a flat glass or a measuring cup to really compact them. This creates a sturdy crust that won’t fall apart when sliced. Also, freezing the crust for at least 15-20 minutes before adding the filling is vital; it helps it set and prevents the filling from making it soggy.
- Softened Cream Cheese is a Must: I cannot stress this enough – your cream cheese needs to be at room temperature! If it’s too cold, it will be lumpy, and you’ll end up with a grainy filling, no matter how much you beat it. Take it out of the fridge at least an hour before you plan to start, or cut it into smaller cubes to speed up the process.
- Cold Heavy Cream for Perfect Peaks: Similarly, your heavy cream should be as cold as possible. Chilling your mixing bowl and beaters for 10-15 minutes in the freezer before whipping can make a huge difference, especially in warmer kitchens. Cold cream whips faster and holds its peaks better, which is essential for that light, airy filling.
- Gentle Folding is Your Friend: Once you’ve whipped your heavy cream to stiff peaks, remember to fold it gently into the Biscoff mixture. Overmixing at this stage will deflate all that beautiful air you just whipped in, resulting in a dense rather than creamy pie. Use a spatula and a light hand!
- Patience with Freezing: Don’t rush the freezing process. Six hours is a minimum, but overnight is truly best. A fully frozen pie is easier to slice cleanly and has the ideal “ice cream cake” texture that makes frozen pies so delightful.
- Slicing Like a Pro: For clean slices, run a sharp knife under hot water, wipe it dry, and then make your cut. Repeat this for each slice. If the pie is super solid, let it sit out at room temperature for 5-10 minutes (or in the fridge for 20-30 minutes) before attempting to slice. It makes a huge difference!
- Get Creative with Garnishes: While crushed Biscoff cookies and a drizzle of melted cookie butter are classic, don’t stop there! Consider adding a sprinkle of flaky sea salt (the sweet-and-salty combination is divine!), a few chocolate shavings, or even a dollop of extra whipped cream just before serving.
Storage
One of the best things about this Frozen Biscoff Cream Pie is how well it stores, making it a fantastic make-ahead dessert! Proper storage ensures that every slice remains as delicious as the first. I always make sure to store mine carefully so it stays fresh and ready for when those cravings hit.
Freezer Storage:
- Initial Storage: After the pie has fully frozen (at least 6 hours, preferably overnight), you’ll want to cover it well. I usually start by placing a piece of plastic wrap directly onto the surface of the pie, ensuring it touches the filling to prevent freezer burn. Then, I wrap the entire pie plate tightly with a double layer of plastic wrap, followed by a layer of aluminum foil. This triple-layer approach creates an excellent barrier against freezer odors and ice crystals.
- Longevity: Stored properly in the freezer, your Frozen Biscoff Cream Pie will maintain its quality for up to 1 month. Beyond that, it’s still safe to eat, but the texture might start to degrade slightly, and flavors might become a bit muted.
- Airtight Container: If you have a pie saver or an airtight container large enough for your pie plate, that’s an even better option for long-term storage, as it provides a rigid protective layer.
Serving Leftovers:
- Slice and Re-wrap: If you’ve already cut into the pie and have leftover slices, it’s best to place the individual slices on a plate or in an airtight container, then cover them tightly with plastic wrap before returning them to the freezer. This minimizes exposure to air and makes it easy to grab just one slice when you want it.
Thawing Before Serving:
- While you can technically slice and eat it straight from the freezer (it will be very firm, almost like an ice cream cake), I find that letting the pie soften just slightly enhances its creamy texture and allows the flavors to truly shine.
- For the Whole Pie: Take the pie out of the freezer and let it sit at room temperature for 15-20 minutes, or in the refrigerator for 30-45 minutes, before slicing and serving. This makes it much easier to cut and gives it a perfect, slightly softer consistency.
- For Individual Slices: A single slice will soften much faster. Let it sit at room temperature for about 5-10 minutes before enjoying.
Final Thoughts
I truly hope you’re feeling inspired to create this incredible Frozen Biscoff Cream Pie With Oreo Crust! There’s something undeniably magical about the combination of that rich, spicy Biscoff cream filling, perfectly chilled to a dreamy texture, and the satisfying crunch of the dark Oreo crust. It’s not just a dessert; it’s an experience.
This recipe for Frozen Biscoff Cream Pie With Oreo Crust truly stands out as a must-try. It’s incredibly easy to assemble, requires no baking, and delivers a show-stopping flavor that everyone will adore. It’s the ideal treat for cooling down on a warm day, a fantastic party centerpiece, or simply a delightful way to indulge your sweet tooth. Prepare yourself for pure dessert bliss – I promise, one bite of this Frozen Biscoff Cream Pie With Oreo Crust and you’ll be hooked!
No-Bake Frozen Biscoff Cream Pie w/ Oreo Crust

Indulge in the creamy, dreamy delight of this No-Bake Frozen Biscoff Cream Pie with a crunchy Oreo crust. It’s a simple yet impressive dessert that combines the rich flavors of Biscoff cookie butter and chocolatey Oreos.
- Prep Time: 30 mins
- Cook Time: 0 mins
- Total Time: 30 minutes
- Yield: 8 servings 1x
- Category: Dessert
- Method: No-Bake
- Cuisine: American
Ingredients
- Oreo Cookies (about 30-35 cookies, or a standard 14.3-ounce package)
- 6 tablespoons Unsalted Butter (melted)
- 8 ounces Full-Fat Cream Cheese (softened to room temperature)
- 1 cup Biscoff Cookie Butter (or Speculoos Spread)
- 1 cup Powdered Sugar (Confectioners' Sugar)
- 1 cup Heavy Cream (or Whipping Cream, very cold)
- 1 teaspoon Vanilla Extract
- Biscoff Cookies (for garnish, crushed or crumbled, optional)
- Melted Biscoff Cookie Butter (for garnish, optional)
Instructions
- Prepare the Oreo Crust: Crush the Oreo cookies finely in a food processor or by hand in a zip-top bag.
- Melt the unsalted butter and pour it over the crushed Oreo crumbs. Stir until all crumbs are moistened.
- Press the mixture evenly into the bottom and up the sides of a 9-inch pie plate. Freeze for at least 15-20 minutes.
- Make the Biscoff Cream Filling: Beat the softened cream cheese in a large mixing bowl until smooth and creamy.
- Add the Biscoff cookie butter, powdered sugar, and vanilla extract to the cream cheese. Beat until well combined and fluffy.
- In a separate cold bowl, whip the heavy cream on high speed until stiff peaks form.
- Gently fold the whipped cream into the Biscoff cream cheese mixture in two additions until just combined.
- Assemble and Freeze the Pie: Retrieve the chilled Oreo crust from the freezer.
- Pour the Biscoff cream filling into the crust and smooth the top with a spatula.
- Garnish with crushed Biscoff cookies or melted Biscoff cookie butter if desired.
- Cover the pie loosely with plastic wrap or aluminum foil and freeze for at least 6 hours, preferably overnight.
Nutrition
- Serving Size: 1 slice
- Calories: 350
- Sugar: 25 g
- Sodium: 200 mg
- Fat: 25 g
- Saturated Fat: 15 g
- Unsaturated Fat: 5 g
- Trans Fat: 0 g
- Carbohydrates: 30 g
- Fiber: 1 g
- Protein: 3 g
- Cholesterol: 40 mg
Keywords: Ensure the cream cheese is softened to room temperature for a smooth filling. Chill your mixing bowl and beaters before whipping the cream for best results.