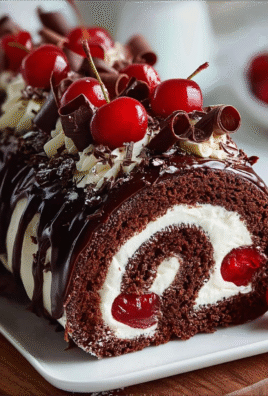
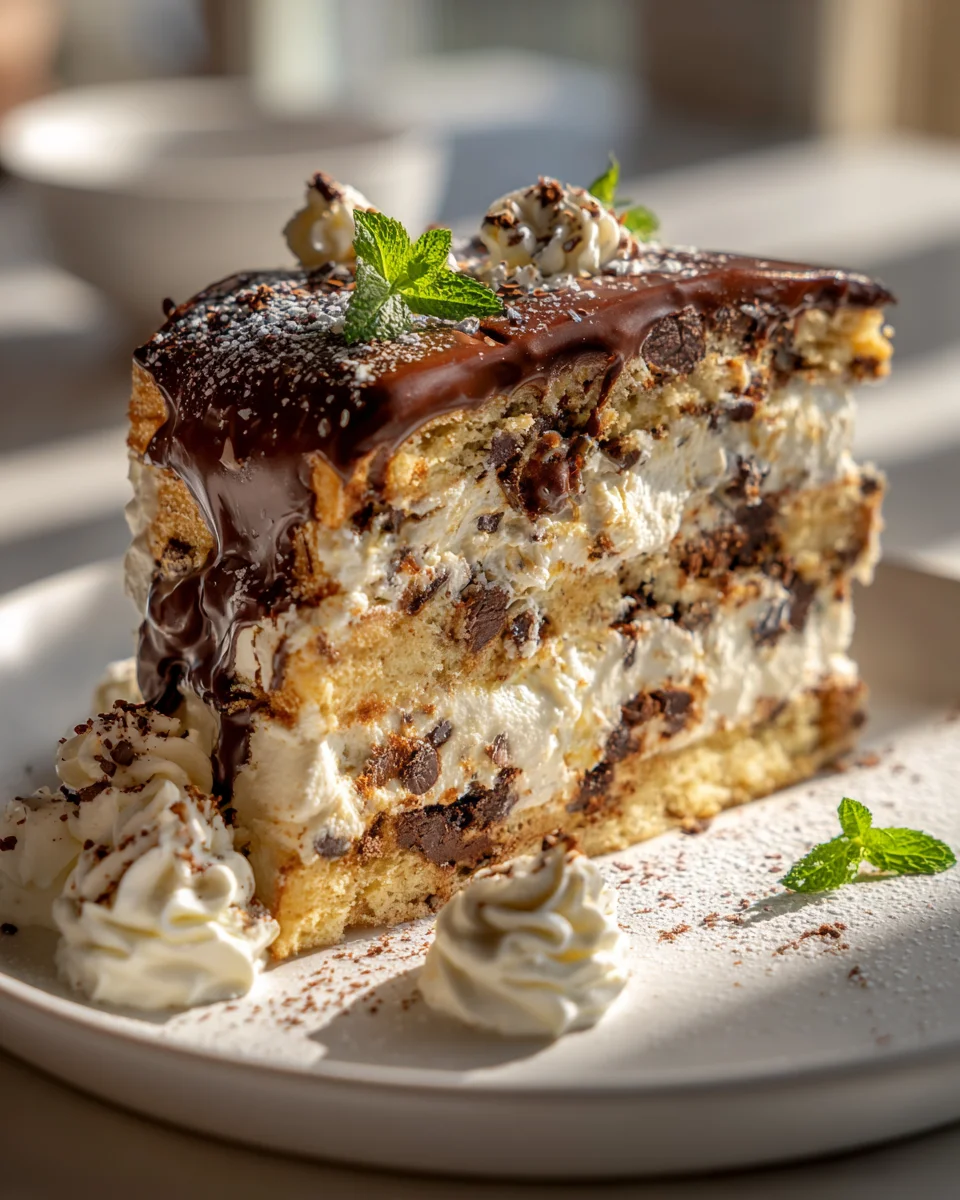
Cookie Dough Ice Cream Sandwich Cake
Oh boy, have I got something absolutely incredible for you today! I’m talking about the kind of dessert that makes eyes widen and jaws drop: my famous Cookie Dough Ice Cream Sandwich Cake. This isn’t just a cake, and it’s certainly not just an ice cream sandwich; it’s a magnificent mash-up of everything wonderful. What makes this recipe so special, you ask? Well, we’re taking the best parts of a rich, fudgy cake-like base, sandwiching it around luscious, creamy ice cream, and then, because we can, topping the whole thing with delightful, edible cookie dough. Seriously, why choose when you can have it all? You’ll absolutely love how this spectacular creation brings together those nostalgic flavors of childhood treats with an elegant, show-stopping presentation. It’s perfect for any celebration, or just when you need a serious dose of deliciousness. Get ready to dive into layers of soft, chewy cookie or brownie, frosty ice cream, and chunky, sweet cookie dough that will make your taste buds sing!

Hello, fellow dessert lovers! Are you ready for a treat that combines three of the best things in the world: cookies, ice cream, and cake? Get ready to dive into the magic of my Cookie Dough Ice Cream Sandwich Cake. This isn’t just any cake; it’s a no-bake marvel that brings together creamy ice cream sandwiches, decadent edible cookie dough, and delightful toppings into one show-stopping frozen dessert. It’s perfect for birthdays, potlucks, or just a really good Tuesday. Let’s get started on creating this incredibly fun and unbelievably delicious cake!
Ingredient Notes
To whip up this spectacular Cookie Dough Ice Cream Sandwich Cake, you’ll need a few key players. Here’s what I recommend and some thoughts on substitutions:
- Edible Cookie Dough: This is the star of the show! It’s crucial that your cookie dough is safe to eat raw, meaning no raw eggs and the flour should be heat-treated.
- Homemade Edible Cookie Dough: My preferred method! You’ll need unsalted butter, granulated sugar, brown sugar, a splash of milk (dairy or non-dairy), vanilla extract, a pinch of salt, mini chocolate chips, and all-purpose flour. Remember to heat-treat your flour (microwave it in a bowl for 30-60 seconds, stirring every 15 seconds, until it reaches 160°F, then let it cool completely) to kill any potential bacteria.
- Store-Bought Edible Cookie Dough: A fantastic time-saver! Many brands now offer pre-made edible cookie dough in various flavors. Just make sure the package explicitly states it’s safe for raw consumption.
- Substitutions: Feel free to get creative with your cookie dough flavor! Instead of classic chocolate chip, you could try double chocolate, sprinkle-filled funfetti, or even peanut butter cookie dough. For dietary needs, use gluten-free heat-treated flour and dairy-free butter and milk for a dairy-free or vegan option.
- Ice Cream Sandwiches: These form the structural layers of our cake. The number you need will depend on the size of your pan and how many layers you plan.
- Classic Vanilla: My go-to, as it provides a neutral base that lets the cookie dough shine.
- Chocolate or Mint Chip: If you’re feeling adventurous, these can add extra flavor dimensions.
- Substitutions: For those with dietary restrictions, there are many delicious dairy-free and vegan ice cream sandwiches available now!
- Toppings & Embellishments: This is where you can truly personalize your cake!
- Whipped Topping: A tub of frozen whipped topping (like Cool Whip) or freshly made whipped cream provides a lovely, light finish.
- Fudge Sauce or Chocolate Ganache: A drizzle of either adds a rich chocolatey punch.
- Extra Cookie Dough Crumbles: If you have a little extra edible cookie dough, crumbling it over the top is a fantastic garnish.
- Sprinkles: Always a good idea for a festive touch!
- Chocolate Shavings or Chips: For that extra bit of chocolatey goodness.
- Substitutions: Feel free to use caramel sauce, chopped nuts, or even crushed candies as toppings.
Step-by-Step Instructions
Creating this Cookie Dough Ice Cream Sandwich Cake is incredibly fun and surprisingly straightforward. Here’s how I put mine together:
- Prepare Your Edible Cookie Dough (if making homemade):
- First, if you’re making your own cookie dough, remember to heat-treat your flour! Spread the flour on a microwave-safe plate or bowl and microwave on high for 30-60 seconds, stirring every 15 seconds, until it reaches 160°F. Let it cool completely before using.
- In a large bowl, cream together the softened unsalted butter with both the granulated and brown sugars until light and fluffy.
- Beat in the milk and vanilla extract until well combined.
- Gradually add the cooled, heat-treated flour and salt, mixing until just combined. Be careful not to overmix.
- Stir in your mini chocolate chips by hand. Set aside.
- Prep Your Pan:
- Choose a 9×13 inch baking pan for a standard cake, or a springform pan for a round cake. I like to line my pan with parchment paper, leaving an overhang on the sides. This creates “handles” that make lifting the finished cake out a breeze!
- Lay the First Layer of Ice Cream Sandwiches:
- Unwrap your ice cream sandwiches. Arrange a single layer of sandwiches tightly on the bottom of your prepared pan. You might need to cut some sandwiches to fit snugly and fill any gaps. Press them down gently to create an even base. Work quickly, as the ice cream will start to soften.
- Spread the First Cookie Dough Layer:
- Evenly spread about half of your edible cookie dough over the layer of ice cream sandwiches. You can use an offset spatula or the back of a spoon to gently press and smooth it out. Don’t press too hard, or you’ll squish the ice cream!
- Add the Second Layer of Ice Cream Sandwiches:
- Carefully arrange another layer of ice cream sandwiches on top of the cookie dough layer, just like you did for the first layer. Again, press them down gently to ensure they adhere to the cookie dough.
- Top with More Cookie Dough (Optional) or Whipped Topping:
- At this point, you have a choice. You can either spread the remaining cookie dough over this top layer of ice cream sandwiches for a thicker cookie dough presence, or you can go straight for the whipped topping for a lighter finish. I usually opt for the whipped topping for a nice contrast. Spread your whipped topping evenly over the final layer.
- Freeze to Set:
- This is a crucial step! Place the entire cake, uncovered, into your freezer. Freeze for at least 4-6 hours, or preferably overnight, to allow everything to firm up completely. This ensures clean slices when serving.
- Decorate and Serve:
- Once the cake is fully frozen, use the parchment paper handles to carefully lift it out of the pan and transfer it to a cutting board or serving platter.
- Now for the fun part – decorating! Drizzle with fudge sauce, sprinkle with extra mini chocolate chips, add some festive sprinkles, or crumble any leftover cookie dough on top.
- To slice, I find it easiest to use a large, sharp knife that has been run under hot water and then wiped dry. This helps create clean cuts through the frozen layers. Serve immediately and watch it disappear!
Tips & Suggestions
To make your Cookie Dough Ice Cream Sandwich Cake absolutely perfect, here are a few tips I’ve picked up along the way:
- Work Quickly: Ice cream melts, so try to assemble your layers as fast as you can. Having all your ingredients prepped and ready before you start is a huge help.
- Heat-Treated Flour is a Must: Seriously, don’t skip this step if you’re making homemade cookie dough. Raw flour can contain bacteria, and we want this cake to be delicious AND safe.
- Don’t Forget the Parchment Paper: Lining your pan with parchment paper with an overhang is a game-changer. It makes removing the frozen cake so much easier and prevents any sticky situations.
- Freeze Between Layers (Optional but Recommended): If you find your ice cream sandwiches or cookie dough are getting too soft while assembling, pop the pan into the freezer for 10-15 minutes between layers. This helps maintain structure.
- Customization is Key: Don’t be afraid to experiment! Use different flavors of ice cream sandwiches (like chocolate or mint chip), or mix up your cookie dough with other add-ins like crushed Oreos, M&Ms, or peanut butter chips.
- Press Gently: When pressing down the ice cream sandwich layers or spreading the cookie dough, use gentle but firm pressure. You want a solid cake, but you don’t want to squeeze out all the ice cream!
- Warm Knife for Slicing: For beautiful, clean slices, dip your knife in hot water and wipe it dry between each cut. This will make slicing through the frozen layers much smoother.
- Make Ahead: This cake is an ideal make-ahead dessert since it needs to freeze for several hours. Prepare it the day before your event, decorate it right before serving, and enjoy!
Storage
Since this is an ice cream cake, proper storage is essential to keep it fresh and delicious:
- Freezer is Its Home: Your Cookie Dough Ice Cream Sandwich Cake must be stored in the freezer at all times.
- Airtight is Best: Once the cake is fully set, cover it tightly with plastic wrap or aluminum foil. If you’ve used a pan with a lid, even better! An airtight seal prevents freezer burn and keeps any funky freezer odors from permeating your delicious dessert.
- Longevity: Properly stored, this cake will last in your freezer for up to 2-3 weeks. Beyond that, the texture and flavor might start to degrade slightly.
- Serving: For the best texture, I recommend taking the cake out of the freezer about 10-15 minutes before you plan to slice and serve. This allows it to soften just slightly, making it easier to cut and enjoy, but not so long that it becomes a melty mess.
Final Thoughts
And there you have it, my friends! We’ve journeyed through the simple steps to create the show-stopping Cookie Dough Ice Cream Sandwich Cake. I truly believe this isn’t just another dessert; it’s a magnificent celebration of everything wonderful in the world of sweets. Why is this specific recipe a must-try? Because it masterfully brings together the irresistible charm of edible cookie dough, the nostalgic joy of ice cream sandwiches, and the celebratory feel of a layered cake, all without turning on an oven for the main assembly. Imagine the smiles when you unveil this towering, creamy, and wonderfully chewy creation – it’s pure delight in every slice! The Cookie Dough Ice Cream Sandwich Cake is a unique, fuss-free masterpiece that guarantees gasps of awe and requests for seconds. I promise, your taste buds are in for an extraordinary treat!
Indulge in Cookie Dough Ice Cream Sandwich Cake Today!

This Cookie Dough Ice Cream Sandwich Cake is a delightful fusion of rich cake, creamy ice cream, and edible cookie dough. Perfect for any celebration or a sweet treat, this no-bake dessert will impress everyone!
- Prep Time: 30 mins
- Cook Time: 0 mins
- Total Time: 30 minutes
- Yield: 12 servings
- Category: Dessert
- Method: No-Bake
- Cuisine: American
Ingredients
- Unsalted butter
- Granulated sugar
- Brown sugar
- Milk (dairy or non-dairy)
- Vanilla extract
- Salt
- Mini chocolate chips
- All-purpose flour
- Ice cream sandwiches (Classic Vanilla, Chocolate, or Mint Chip)
- Whipped topping (like Cool Whip or freshly made whipped cream)
- Fudge sauce or chocolate ganache
- Extra cookie dough crumbles
- Sprinkles
- Chocolate shavings or chips
Instructions
- Prepare Your Edible Cookie Dough (if making homemade): First, if you're making your own cookie dough, remember to heat-treat your flour! Spread the flour on a microwave-safe plate or bowl and microwave on high for 30-60 seconds, stirring every 15 seconds, until it reaches 160°F. Let it cool completely before using.
- In a large bowl, cream together the softened unsalted butter with both the granulated and brown sugars until light and fluffy.
- Beat in the milk and vanilla extract until well combined.
- Gradually add the cooled, heat-treated flour and salt, mixing until just combined. Be careful not to overmix.
- Stir in your mini chocolate chips by hand. Set aside.
- Prep Your Pan: Choose a 9×13 inch baking pan for a standard cake, or a springform pan for a round cake. Line your pan with parchment paper, leaving an overhang on the sides.
- Lay the First Layer of Ice Cream Sandwiches: Unwrap your ice cream sandwiches. Arrange a single layer of sandwiches tightly on the bottom of your prepared pan. Press them down gently to create an even base.
- Spread the First Cookie Dough Layer: Evenly spread about half of your edible cookie dough over the layer of ice cream sandwiches.
- Add the Second Layer of Ice Cream Sandwiches: Carefully arrange another layer of ice cream sandwiches on top of the cookie dough layer. Press them down gently.
- Top with More Cookie Dough (Optional) or Whipped Topping: Spread the remaining cookie dough over this top layer of ice cream sandwiches or spread your whipped topping evenly over the final layer.
- Freeze to Set: Place the entire cake, uncovered, into your freezer. Freeze for at least 4-6 hours, or preferably overnight.
- Decorate and Serve: Once the cake is fully frozen, use the parchment paper handles to carefully lift it out of the pan. Decorate with fudge sauce, extra mini chocolate chips, sprinkles, or crumbled cookie dough. Slice and serve immediately.
Nutrition
- Serving Size: 1 slice
- Calories: 350
- Sugar: 25 g
- Sodium: 150 mg
- Fat: 15 g
- Saturated Fat: 8 g
- Unsaturated Fat: 5 g
- Trans Fat: 0 g
- Carbohydrates: 45 g
- Fiber: 2 g
- Protein: 4 g
- Cholesterol: 30 mg
Keywords: Work quickly to assemble layers as ice cream melts. Heat-treated flour is essential for safety. Lining your pan with parchment paper makes removal easier. Customize flavors and toppings to your liking.