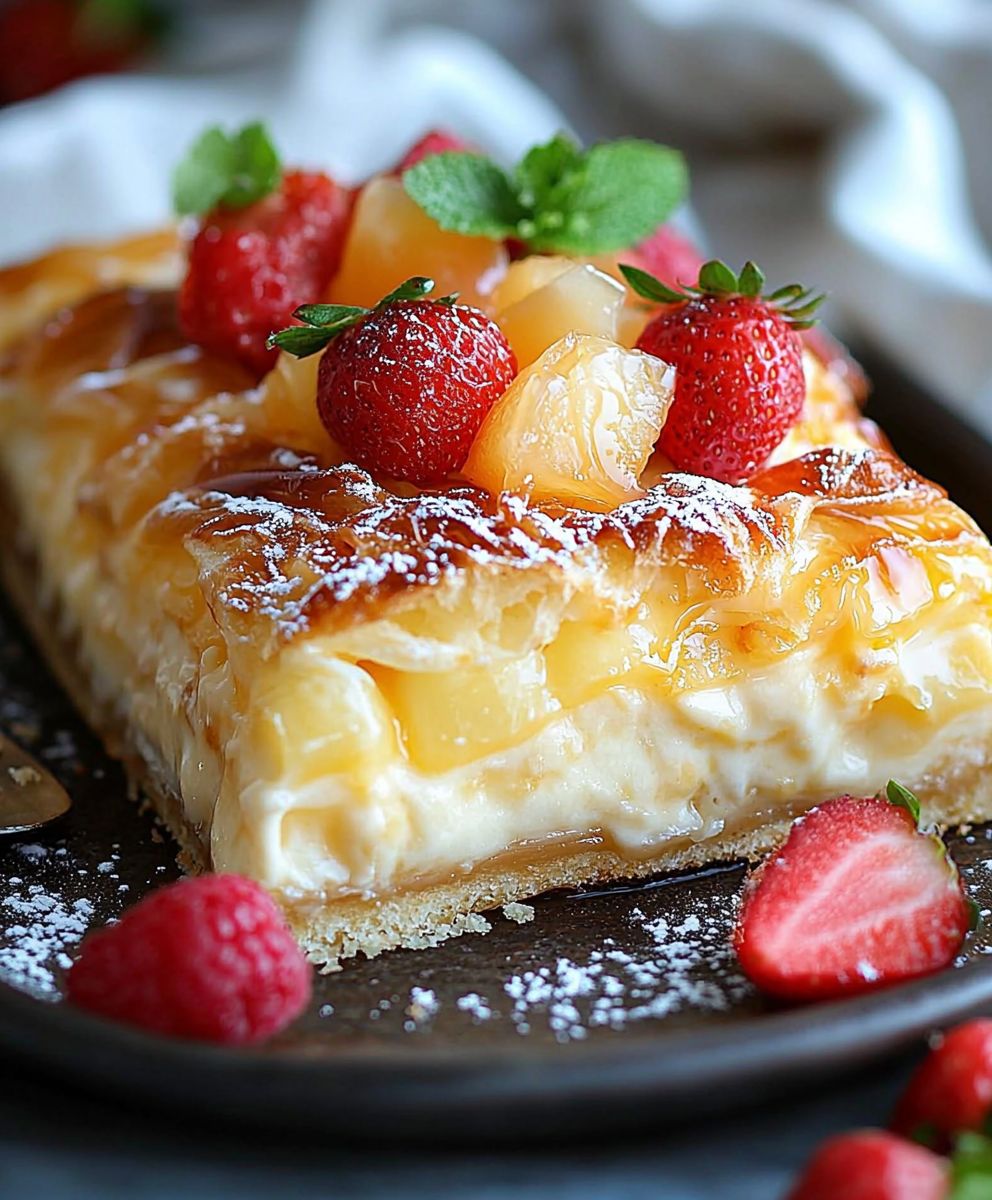
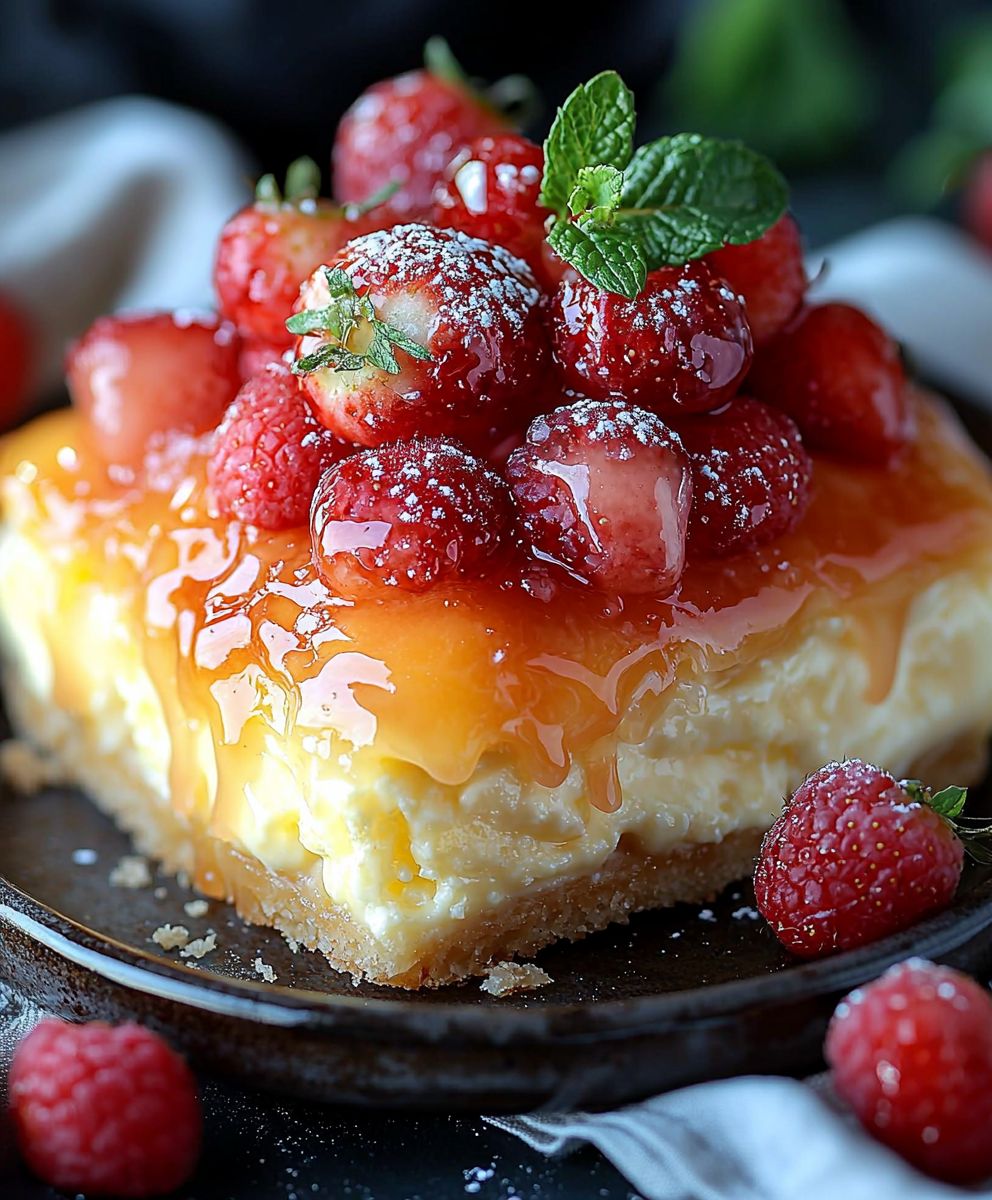
King Hawaiian Cheesecake Danish: Prepare to be transported to a tropical paradise with every single bite! Imagine the pillowy softness of a King’s Hawaiian roll, the creamy decadence of cheesecake, and the sweet, tangy burst of a perfectly balanced glaze. Sounds divine, doesn’t it? This isn’t just a dessert; it’s an experience, a mini-vacation for your taste buds.
While not steeped in centuries of tradition, the beauty of this recipe lies in its clever fusion of familiar favorites. The King’s Hawaiian roll, with its subtly sweet flavor and incredibly soft texture, has become a beloved staple in American households. Pairing it with the rich, smooth texture of cheesecake creates a delightful contrast that’s simply irresistible. It’s a modern twist on classic flavors, perfect for potlucks, brunch, or a special treat any day of the week.
People adore this King Hawaiian Cheesecake Danish because it’s incredibly easy to make, surprisingly impressive, and utterly delicious. The combination of sweet, tangy, and creamy is a guaranteed crowd-pleaser. Plus, the individual portions make it perfect for serving at gatherings. Who can resist a warm, gooey, and perfectly portioned piece of heaven? Get ready to bake up a batch of these delightful treats – you won’t regret it!
Ingredients:
- For the Danish Dough:
- 1 cup warm milk (105-115°F)
- 2 ¼ teaspoons (1 packet) active dry yeast
- ⅓ cup granulated sugar
- 1 teaspoon salt
- 2 large eggs, lightly beaten
- ⅓ cup unsalted butter, melted and cooled slightly
- 4 cups all-purpose flour, plus more for dusting
- For the Cheesecake Filling:
- 8 ounces cream cheese, softened
- ⅓ cup granulated sugar
- 1 large egg
- 1 teaspoon vanilla extract
- ¼ teaspoon lemon zest (optional, but recommended)
- For the King’s Hawaiian Glaze:
- 2 cups powdered sugar
- ¼ cup King’s Hawaiian sweet rolls juice (from the package or pineapple juice)
- 1 tablespoon melted butter
- ½ teaspoon vanilla extract
- Pinch of salt
- For Assembly:
- 12 King’s Hawaiian sweet rolls
- Melted butter for brushing
Preparing the Danish Dough:
- Activate the Yeast: In a large bowl (or the bowl of your stand mixer), combine the warm milk, yeast, and granulated sugar. Stir gently and let it sit for 5-10 minutes, or until the yeast is foamy. This step is crucial to ensure your yeast is alive and active. If it doesn’t foam, your yeast might be old, and you’ll need to start over with fresh yeast.
- Combine Wet Ingredients: Add the salt, beaten eggs, and melted butter to the yeast mixture. Whisk everything together until well combined. Make sure your butter isn’t too hot, or it could cook the eggs.
- Add the Flour: Gradually add the flour, one cup at a time, mixing well after each addition. If using a stand mixer, use the dough hook attachment. If mixing by hand, use a sturdy spoon or your hands. The dough will start to come together and form a shaggy mass.
- Knead the Dough: If using a stand mixer, knead the dough on medium speed for 6-8 minutes, or until it becomes smooth and elastic. If kneading by hand, turn the dough out onto a lightly floured surface and knead for 8-10 minutes, or until it’s smooth and elastic. The dough should be slightly tacky but not sticky. If it’s too sticky, add a little more flour, one tablespoon at a time.
- First Rise: Place the dough in a lightly oiled bowl, turning to coat. Cover the bowl with plastic wrap or a clean kitchen towel and let it rise in a warm place for 1-1.5 hours, or until doubled in size. This is where the magic happens! The dough needs time to develop its flavor and airy texture.
- Punch Down the Dough: Once the dough has doubled, gently punch it down to release the air. This will help prevent large air pockets in your finished danishes.
Making the Cheesecake Filling:
- Cream the Cream Cheese and Sugar: In a medium bowl, beat the softened cream cheese and granulated sugar together until smooth and creamy. It’s important that the cream cheese is softened to avoid lumps in your filling.
- Add Egg and Flavorings: Beat in the egg until just combined. Be careful not to overmix at this stage, as it can incorporate too much air and cause the filling to puff up and then deflate during baking. Stir in the vanilla extract and lemon zest (if using). The lemon zest adds a lovely brightness to the cheesecake filling.
- Set Aside: Cover the bowl and set the cheesecake filling aside while you prepare the danishes.
Assembling and Baking the King’s Hawaiian Cheesecake Danishes:
- Prepare the King’s Hawaiian Rolls: Gently separate the King’s Hawaiian sweet rolls. You should have 12 individual rolls.
- Create Indentations: Using the back of a spoon or your fingers, gently press down in the center of each roll to create a well or indentation. This will hold the cheesecake filling. Be careful not to press all the way through the roll.
- Fill the Rolls: Spoon the cheesecake filling into the indentations of each roll, dividing it evenly among all 12 rolls.
- Second Rise: Place the filled rolls on a baking sheet lined with parchment paper. Cover loosely with plastic wrap or a clean kitchen towel and let them rise for another 30 minutes. This second rise will help the danishes become even more light and fluffy.
- Preheat Oven: While the danishes are rising, preheat your oven to 350°F (175°C).
- Bake the Danishes: Brush the tops of the danishes with melted butter. This will give them a beautiful golden-brown color. Bake for 15-20 minutes, or until the danishes are golden brown and the cheesecake filling is set. Keep a close eye on them, as baking times can vary depending on your oven.
- Cool Slightly: Remove the danishes from the oven and let them cool on the baking sheet for a few minutes before transferring them to a wire rack to cool completely.
Making the King’s Hawaiian Glaze:
- Combine Ingredients: In a medium bowl, whisk together the powdered sugar, King’s Hawaiian sweet rolls juice (or pineapple juice), melted butter, vanilla extract, and salt until smooth. Add more juice, one tablespoon at a time, if needed to reach your desired consistency. The glaze should be thick enough to coat the danishes but thin enough to drizzle easily.
- Glaze the Danishes: Once the danishes are completely cool, drizzle the glaze over the top of each danish. You can use a spoon or a piping bag for this step.
- Let the Glaze Set: Allow the glaze to set for a few minutes before serving. This will help prevent it from being too sticky.
Tips and Variations:
- Fruit Topping: Add a layer of your favorite fruit, such as berries, sliced peaches, or chopped pineapple, on top of the cheesecake filling before baking.
- Nutty Crunch: Sprinkle chopped nuts, such as pecans or almonds, on top of the glaze for added texture and flavor.
- Chocolate Drizzle: Drizzle melted chocolate over the glaze for a decadent treat.
- Spice it Up: Add a pinch of cinnamon or nutmeg to the cheesecake filling for a warm, comforting flavor.
- Make Ahead: The dough can be made ahead of time and stored in the refrigerator for up to 24 hours. Just punch it down before using.
- Storage: Store leftover danishes in an airtight container at room temperature for up to 2 days or in the refrigerator for up to 4 days.
Conclusion:
This King Hawaiian Cheesecake Danish recipe is truly something special, and I wholeheartedly believe it deserves a spot in your baking repertoire. From the incredibly soft and slightly sweet King’s Hawaiian rolls to the creamy, decadent cheesecake filling, every bite is an explosion of flavor and texture that will leave you wanting more. It’s the perfect balance of comforting familiarity and unexpected indulgence.
But why is this recipe a must-try? It’s simple: it’s incredibly easy to make, uses readily available ingredients, and delivers a wow-factor that belies its simplicity. Forget spending hours slaving away in the kitchen for a complicated dessert. This recipe comes together quickly, making it ideal for busy weeknights, impromptu gatherings, or when you just need a little something sweet to brighten your day. Plus, the combination of the King’s Hawaiian rolls and the cheesecake filling is simply irresistible. The rolls provide a unique sweetness and airy texture that perfectly complements the rich and tangy cheesecake. It’s a match made in dessert heaven!
Beyond its ease and deliciousness, this recipe is also incredibly versatile. Feel free to get creative with your toppings and variations! A dusting of powdered sugar is always a classic and elegant choice. But if you’re feeling adventurous, consider adding a drizzle of melted chocolate, a sprinkle of chopped nuts, or a dollop of whipped cream. For a fruity twist, top with fresh berries, sliced peaches, or a homemade berry compote. You could even incorporate some lemon zest into the cheesecake filling for a brighter, more citrusy flavor.
Serving Suggestions: These King Hawaiian Cheesecake Danishes are fantastic served warm, straight from the oven, or at room temperature. They’re perfect for breakfast, brunch, dessert, or even as a sweet treat alongside your afternoon coffee. For a truly decadent experience, try serving them with a scoop of vanilla ice cream or a dollop of freshly whipped cream. They also make a wonderful addition to any potluck or holiday gathering. Imagine the smiles on your friends’ and family’s faces when they taste these delightful treats!
Variations to Explore: Don’t be afraid to experiment with different flavors and ingredients. Try adding a swirl of Nutella to the cheesecake filling for a chocolate hazelnut twist. Or, incorporate some chopped pecans and a drizzle of caramel sauce for a pecan pie-inspired version. You could even use different types of cheese in the filling, such as mascarpone or ricotta, to create a unique flavor profile. The possibilities are endless!
I’m so excited for you to try this recipe and experience the magic of these King Hawaiian Cheesecake Danishes for yourself. I truly believe you’ll love them as much as I do. So, gather your ingredients, preheat your oven, and get ready to bake up a batch of pure deliciousness.
And most importantly, I’d love to hear about your experience! Once you’ve made these danishes, please share your photos and comments with me. Let me know what variations you tried, what toppings you used, and how much you enjoyed them. Your feedback is invaluable, and I can’t wait to see your creations! Happy baking! I am confident that you will enjoy this King Hawaiian Cheesecake Danish recipe.
King Hawaiian Cheesecake Danish: A Delicious Recipe & Baking Guide
Fluffy King's Hawaiian rolls filled with creamy cheesecake and topped with a sweet King's Hawaiian glaze.
Ingredients
- 1 cup warm milk (105-115°F)
- 2 ¼ teaspoons (1 packet) active dry yeast
- ⅓ cup granulated sugar
- 1 teaspoon salt
- 2 large eggs, lightly beaten
- ⅓ cup unsalted butter, melted and cooled slightly
- 4 cups all-purpose flour, plus more for dusting
- 8 ounces cream cheese, softened
- ⅓ cup granulated sugar
- 1 large egg
- 1 teaspoon vanilla extract
- ¼ teaspoon lemon zest (optional, but recommended)
- 2 cups powdered sugar
- ¼ cup King’s Hawaiian sweet rolls juice (from the package or pineapple juice)
- 1 tablespoon melted butter
- ½ teaspoon vanilla extract
- Pinch of salt
- 12 King’s Hawaiian sweet rolls
- Melted butter for brushing
Instructions
- In a large bowl (or the bowl of your stand mixer), combine the warm milk, yeast, and granulated sugar. Stir gently and let it sit for 5-10 minutes, or until the yeast is foamy.
- Add the salt, beaten eggs, and melted butter to the yeast mixture. Whisk everything together until well combined.
- Gradually add the flour, one cup at a time, mixing well after each addition. If using a stand mixer, use the dough hook attachment. If mixing by hand, use a sturdy spoon or your hands. The dough will start to come together and form a shaggy mass.
- If using a stand mixer, knead the dough on medium speed for 6-8 minutes, or until it becomes smooth and elastic. If kneading by hand, turn the dough out onto a lightly floured surface and knead for 8-10 minutes, or until it’s smooth and elastic. The dough should be slightly tacky but not sticky. If it’s too sticky, add a little more flour, one tablespoon at a time.
- Place the dough in a lightly oiled bowl, turning to coat. Cover the bowl with plastic wrap or a clean kitchen towel and let it rise in a warm place for 1-1.5 hours, or until doubled in size.
- Once the dough has doubled, gently punch it down to release the air.
- In a medium bowl, beat the softened cream cheese and granulated sugar together until smooth and creamy.
- Beat in the egg until just combined. Stir in the vanilla extract and lemon zest (if using).
- Cover the bowl and set the cheesecake filling aside while you prepare the danishes.
- Gently separate the King’s Hawaiian sweet rolls. You should have 12 individual rolls.
- Using the back of a spoon or your fingers, gently press down in the center of each roll to create a well or indentation.
- Spoon the cheesecake filling into the indentations of each roll, dividing it evenly among all 12 rolls.
- Place the filled rolls on a baking sheet lined with parchment paper. Cover loosely with plastic wrap or a clean kitchen towel and let them rise for another 30 minutes.
- While the danishes are rising, preheat your oven to 350°F (175°C).
- Brush the tops of the danishes with melted butter. Bake for 15-20 minutes, or until the danishes are golden brown and the cheesecake filling is set.
- Remove the danishes from the oven and let them cool on the baking sheet for a few minutes before transferring them to a wire rack to cool completely.
- In a medium bowl, whisk together the powdered sugar, King’s Hawaiian sweet rolls juice (or pineapple juice), melted butter, vanilla extract, and salt until smooth. Add more juice, one tablespoon at a time, if needed to reach your desired consistency.
- Once the danishes are completely cool, drizzle the glaze over the top of each danish.
- Allow the glaze to set for a few minutes before serving.
Notes
- Ensure your yeast is active by observing for foam during the activation step.
- Soften the cream cheese completely to avoid lumps in the filling.
- Avoid overmixing the cheesecake filling after adding the egg.
- Baking times may vary depending on your oven. Keep a close eye on the danishes.
- Add a layer of your favorite fruit, such as berries, sliced peaches, or chopped pineapple, on top of the cheesecake filling before baking.
- Sprinkle chopped nuts, such as pecans or almonds, on top of the glaze for added texture and flavor.
- Drizzle melted chocolate over the glaze for a decadent treat.
- Add a pinch of cinnamon or nutmeg to the cheesecake filling for a warm, comforting flavor.
- The dough can be made ahead of time and stored in the refrigerator for up to 24 hours. Just punch it down before using.
- Store leftover danishes in an airtight container at room temperature for up to 2 days or in the refrigerator for up to 4 days.


